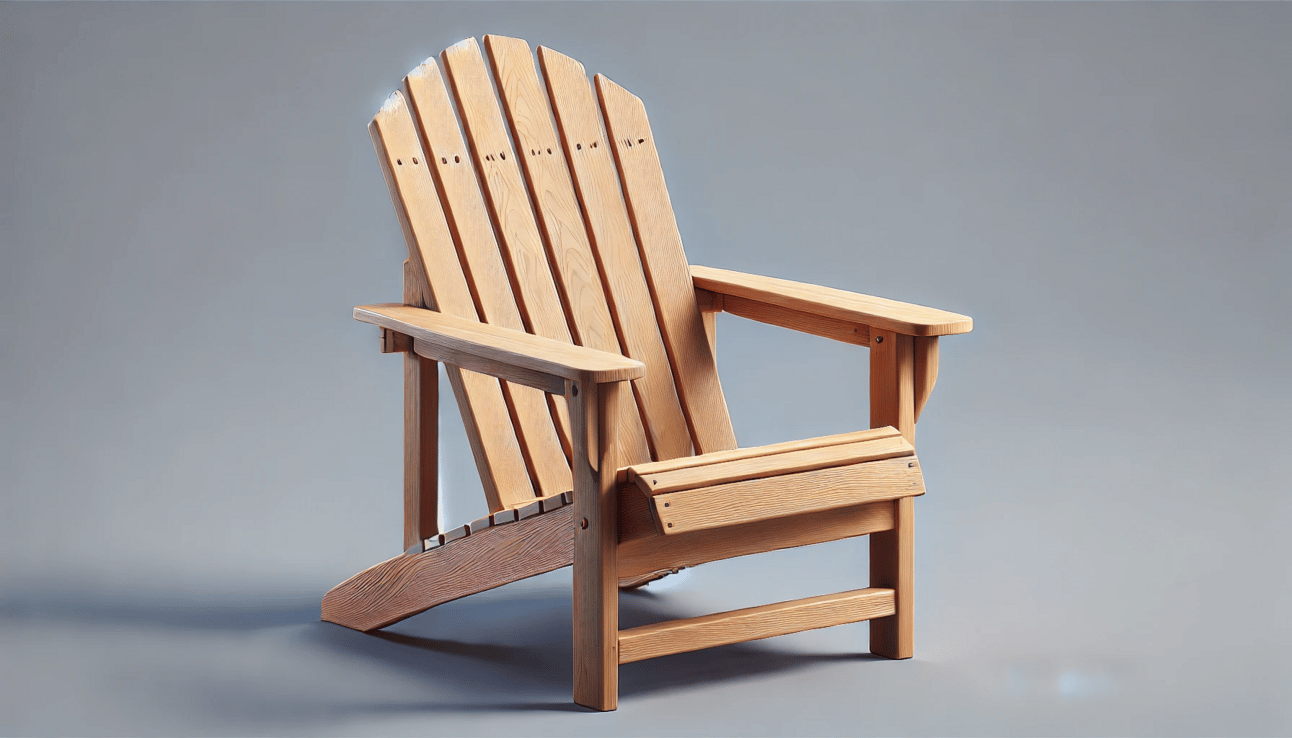
The Adirondack chair is a staple of outdoor furniture, known for its classic design, comfort, and sturdy build. Whether you’re relaxing on your porch, around a campfire, or by the lakeside, this chair offers the perfect blend of form and function. In this article, we’ll guide you step-by-step through building your own Adirondack chair, complete with measurements and detailed instructions. Not only is this a rewarding woodworking project, but it also results in a piece of furniture that will last for years to come. Let’s dive into the history, design, and build process of this iconic chair!
Get Home Repair Answers from Experts Now!
Need quick solutions for your home repair questions? Home Fix Expert has you covered! Enjoy unlimited chats with certified professionals and get the guidance you need for just $1. No commitments—cancel anytime.
Materials:
Wood: 1x6, 1x4, 2x4 boards (Cedar or treated pine is often preferred for outdoor use)
Screws: 2 1/2" exterior-grade wood screws
Wood glue
Sandpaper (for smoothing edges)
Part 1: Cutting List
Part | Quantity | Dimensions (Inches) |
|---|---|---|
Back legs | 2 | 1x6, 36" long |
Front legs | 2 | 2x4, 22" long |
Armrests | 2 | 1x6, 30" long |
Seat slats | 5 | 1x4, 22" long |
Back slats | 6 | 1x4, 32" long |
Seat supports | 2 | 2x4, 21" long |
Back support | 1 | 2x4, 20" long |
Armrest supports | 2 | 2x4, 8" long |
Part 2: Assembly Instructions
Back Legs (Angle Cuts)
Cut the back legs from 1x6 boards to 36" in length.
Create an angle cut at the top of each leg (approx. 20 degrees) to allow for the chair's slanted backrest.
Front Legs
Cut the front legs from 2x4 boards to 22" long. Attach these legs to the back legs using 2 1/2" screws, ensuring the bottom of each front leg aligns with the bottom of the back leg (forming the chair's frame).
Seat Supports
Attach the seat supports (2x4, 21") between the front and back legs, about 16" from the ground. These will support the seat slats.
Attach the Seat Slats
Attach the seat slats (1x4, 22") evenly across the seat frame, starting at the back of the seat and working forward. Leave about a 1/2" gap between each slat for water drainage.
Back Slats
Attach the back slats (1x4, 32") to the angled top of the back legs. Space them about 1/2" apart, creating a curved back for comfort. Use the back support (2x4, 20") behind the back slats to reinforce their positioning and curvature.
Armrests
Attach the armrest supports (2x4, 8") to the front legs, ensuring they are level. Place the armrests (1x6, 30") on top of the supports, extending slightly over the seat.
Sand and Finish
Sand all edges to prevent splinters and ensure comfort. Finish with outdoor wood stain or paint to protect against the elements.
Chair Dimensions:
Seat height: 16" from the ground
Chair width: 30"
Chair depth: 36"
Chair back height: 36" from the ground
Get Lifetime Free Monthly Woodworking Plans!
Unlock a treasure trove of free woodworking plans every month—forever! Join today and enjoy lifetime access to our exclusive membership area, where you can download new, expertly crafted plans each month.
No recurring fees
No expiry date
Unlimited access
Don’t miss out on this incredible opportunity to expand your woodworking collection. Sign up now and start building with our free monthly plans for life!

